
Securing a server is essential to protect sensitive data and ensure that the system operates smoothly.
To secure your Linux server, simply follow the steps outline below:
1. Configure the appropriate login method
When creating your bare metal instance, you have three options for login:

- System-generated Root Password: A system-generated root password will be emailed to you.
- SSH Keys: Uploading your public key(s), which enables the SSH key authentication and disables the password login.
- Set up Own Password: Manually configure your password for SSH login. Our console will check its complexity for you.
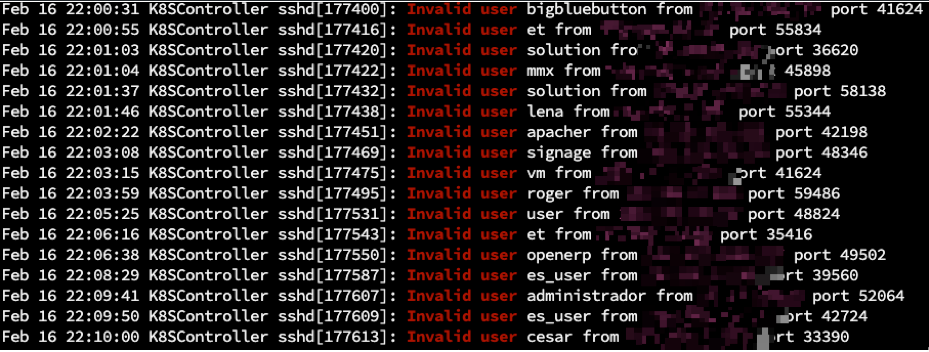
Our experts prefer using the SSH key approach as it blocks password login attempts and eliminates the possibility of brute force attacks. As evidenced by this screenshot of the syslog, there were multiple failed login attempts with different usernames within a 10-minute time frame:
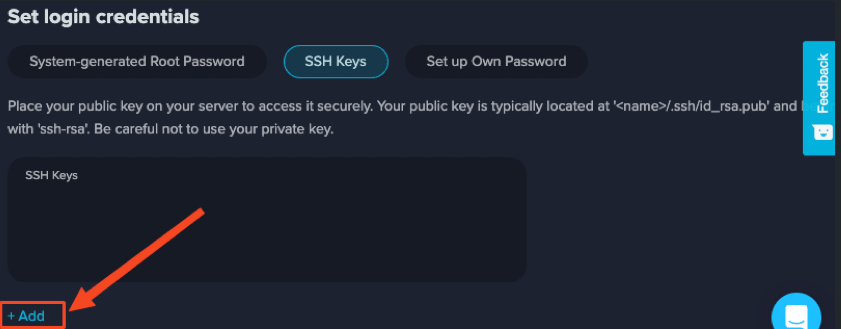
When selecting SSH keys as the login method during OS installation, password authentication will be disabled, and key authentication will be the only way to log in to your server. You can add multiple SSH keys by clicking the “+Add” button:
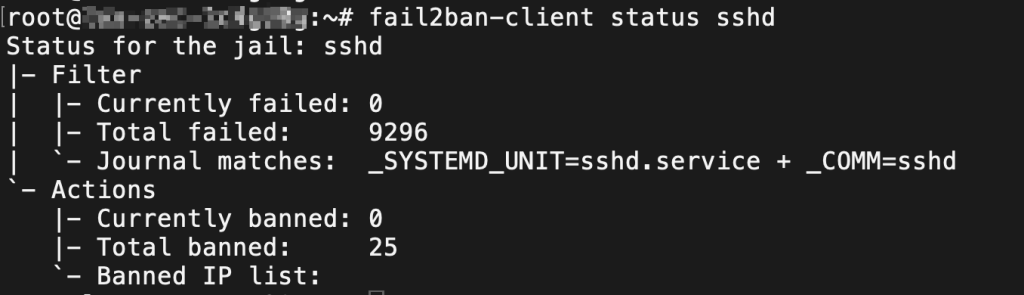
Editor’s note: Fail2ban is a useful tool for automatically banning IP addresses when login attempts exceed a preset threshold. This saves system resources, as each TCP connection consumes a certain amount—especially memory. For example, on our system with Fail2ban installed (using the default configuration), we changed the SSH listening port from 22 to another random number, but within the past 8 hours, exploit scans were still detected on SSH from 25 different IP addresses, all of which were subsequently banned:
2. Implement firewall and network security measures
Set up a firewall to control incoming and outgoing traffic. There are several options for implementing a firewall, with the most commonly used software being iptables and firewalld. Here’s an example of an iptables shell script that blocks all incoming traffic except for port 22 for SSH login, and allows all outgoing traffic initiated by your server—this is crucial as your server may need to connect to a repository for software installation or upgrades:
#!/bin/bash
iptables -F
iptables -P INPUT DROP
iptables -P OUTPUT ACCEPT
iptables -A INPUT -i lo -j ACCEPT
iptables -A INPUT -p tcp -m tcp --dport 22 -j ACCEPT
iptables -A INPUT -m state --state ESTABLISHED,RELATED -j ACCEPT
Firewalld is more user-friendly in terms of its language and explanation. You can assign different interfaces to different zones and apply rules to the corresponding zone. Here are some examples:
#Assigning an interface to a zone:
firewall-cmd --permanent --zone=public --change-interface=eth0
firewall-cmd --permanent --zone=home --change-interface=eth1
#Setting a rule for public zone which permits https(TCP 443)
firewall-cmd --zone=public --permanent --add-port=443/tcp
#If you make any change during runtime, this will save the running config to permanent settings.
firewall-cmd --runtime-to-permanent
#Remember to reload firewalld to activate new rules.
firewall-cmd --reload
To check which ports are open and if there are any live sessions connecting to those ports, you can run the command “ss -lna”. The output will show any listening ports and established connections. Below is a screenshot that shows our server is listening on TCP port 22 (SSH) on the internet with an active session from an IP address that ends in 236. If you want more details, including the process name and PID for each row, you can run the command “ss -lnap”.”

3. Ensure all software is up to date
It’s crucial to keep all software, including the operating system, applications, and plugins, updated to the latest version to patch any vulnerabilities.
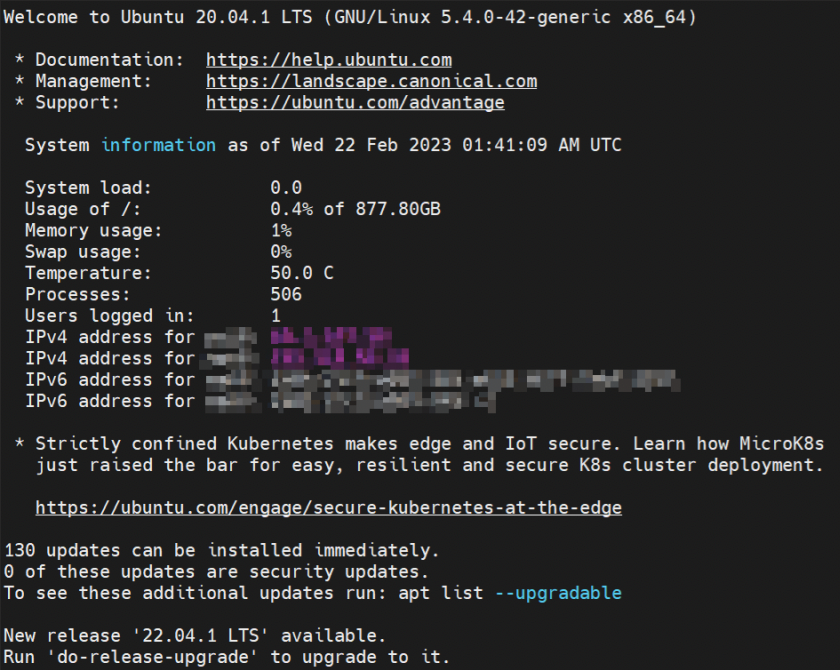
I prefer the Ubuntu system because it has a helpful MOTD (message of the day) that reminds you if there are any security updates available:
And if you want to update manually, here’s a quick guide:
a. Update your package manager: Run the following command to update your package manager:
For Debian-based systems:
sudo apt-getupdate
For Red Hat-based systems:
sudo yum update
b. Upgrade installed packages: After updating the package manager, run the following command to upgrade all installed packages to their latest versions:
For Debian-based systems:
sudo apt-getupgrade
For Red Hat-based systems:
sudo yum upgrade
c. Install security updates: Run the following command to install any security updates:
For Debian-based systems:
sudo apt-get dist-upgrade
For Red Hat-based systems:
sudo yum update --security
4. Set up automatic updates for your system (if applicable)
This can usually be done through the package manager or system settings interface, although the specific steps may vary depending on your distribution. For instance, in Ubuntu, you can configure auto-updates by following the official help document: AutomaticSecurityUpdates – Community Help Wiki
Final thoughts
Implementing these best practices can significantly improve the security of your server system and reduce the risk of unauthorized access, data breaches, and other security incidents. However, it’s important to remember that cyberattacks happen every day. In addition to technical configurations, other policies and procedures are required for long-term security, such as regular security audits, backups, and user ID management procedures.